How to Add a Button in WordPress and Check Its Link
A clear button can help a visitor find the next useful page. But a button that looks right can still lead to the wrong place. This guide covers both jobs: adding a button-style link and checking what happens when someone uses it.
We will use the built-in Buttons block in the WordPress block editor, also called Gutenberg. No extra plugin is needed. Elementor uses a different interface, so follow its own workflow if your page was built there.
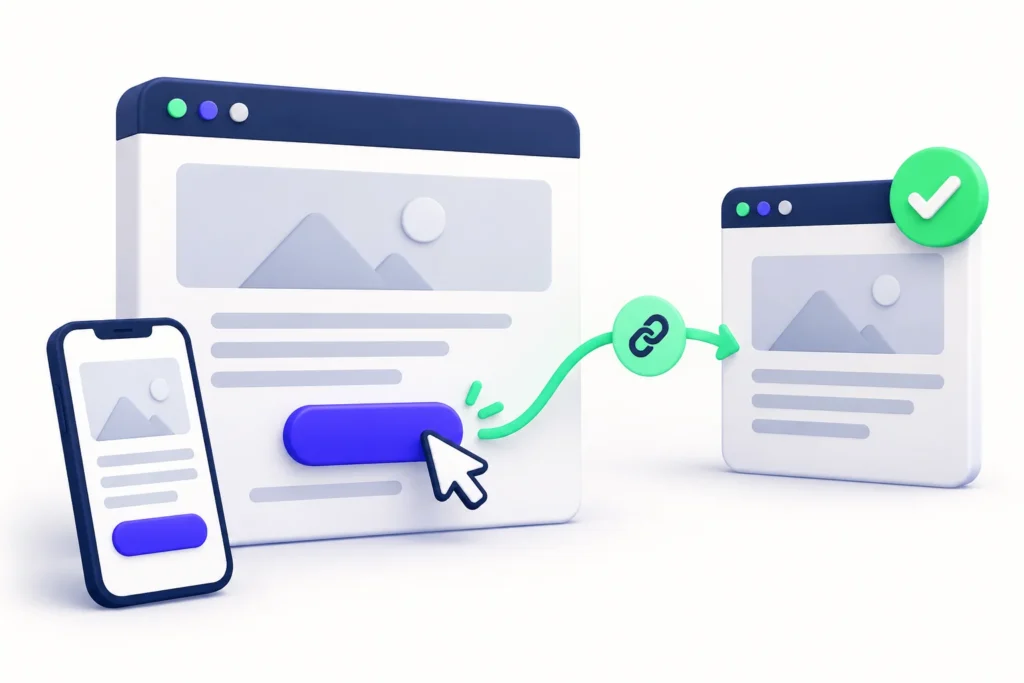
1. Choose the destination first
Open the page you want readers to reach and copy its public address. Check that it contains the information your button will promise. Avoid copying a WordPress editing address or a private draft preview.
For example, a button labelled “Read the backup guide” should open the backup guide, not the homepage. If you want to send readers to a particular heading instead, see our guide to jump links in WordPress.
Important: a native Button block creates a styled link. Calling it “Subscribe” does not create a signup form or submit a visitor’s details. Link to a real signup page, or use a properly configured form for that job.
2. Add the Buttons block
- Open the post or page in the block editor. Choose where the button belongs.
- Use the block inserter and search for Buttons, or type /buttons in an empty paragraph and select it.
- Type a short label into the first button. Describe the destination, such as “View course details,” rather than “Click here.”
- Select that individual button and choose the Link control in its toolbar.
- Search for an existing published post or page, or paste the full destination address. For an external website, include https://.
- Apply the link with the submit arrow or Enter/Return. Save the draft before checking the preview.
The outer Buttons block controls the group’s layout. Each inner Button has its own label and link. If the link control is missing, select the inner button, using List View if necessary. The official Buttons block documentation explains this structure.
3. Keep the label and layout clear
Give one obvious next step more emphasis than secondary links. A row of equally prominent buttons can make the choice harder. Use a label long enough to explain the destination, but short enough to read comfortably on a phone.
For ordinary navigation, keeping the destination in the same tab is a sensible default. If you intentionally open a new tab, tell readers, for example “Read the handbook (opens in a new tab).” Avoid surprising them.
Select the outer Buttons block to find its layout settings. When you have several buttons, check whether they can wrap onto another line on a narrow screen. This setting wraps separate buttons; it does not guarantee that a long label inside one button will fit.
4. Check the result, not just the address
WordPress checks the link’s format, but it does not verify that the destination exists or loads successfully. The official link-editing guide makes that distinction. A saved link is not the same as a working link.
- Open the preview. Activate the button and confirm the final page matches the label. Watch for a missing-page error, an unexpected redirect or a sign-in requirement.
- Check public access. For a destination intended for everyone, open it in a private browser window without signing in. Your administrator session may let you see content visitors cannot.
- Use the keyboard. On the rendered page, press Tab until the link is focused. Look for a visible focus indicator, then press Enter to follow it. Make sure you can move away with Tab or Shift+Tab.
- Review a narrow preview. Check that the label is not clipped, the button stays within the content area and neighbouring links have enough separation. A real phone check is useful when available.
Clear link text helps readers understand where they are going, including people using assistive technology. The W3C’s writing for web accessibility tips offer more examples.
A simple example to try
Use “Read the backup guide” as your label and choose our WordPress backup guide as the destination. In preview, check that the link opens that guide and that its advice matches the label. This is a navigation link, not a backup tool, and it will not back up your site for you.
Before you publish
Confirm the label, destination, public access, keyboard focus and narrow-screen layout. If something fails, fix it before publishing rather than relying on a button’s appearance. After publishing, open the public page and test the link once more.