How to Add an Image Gallery in WordPress
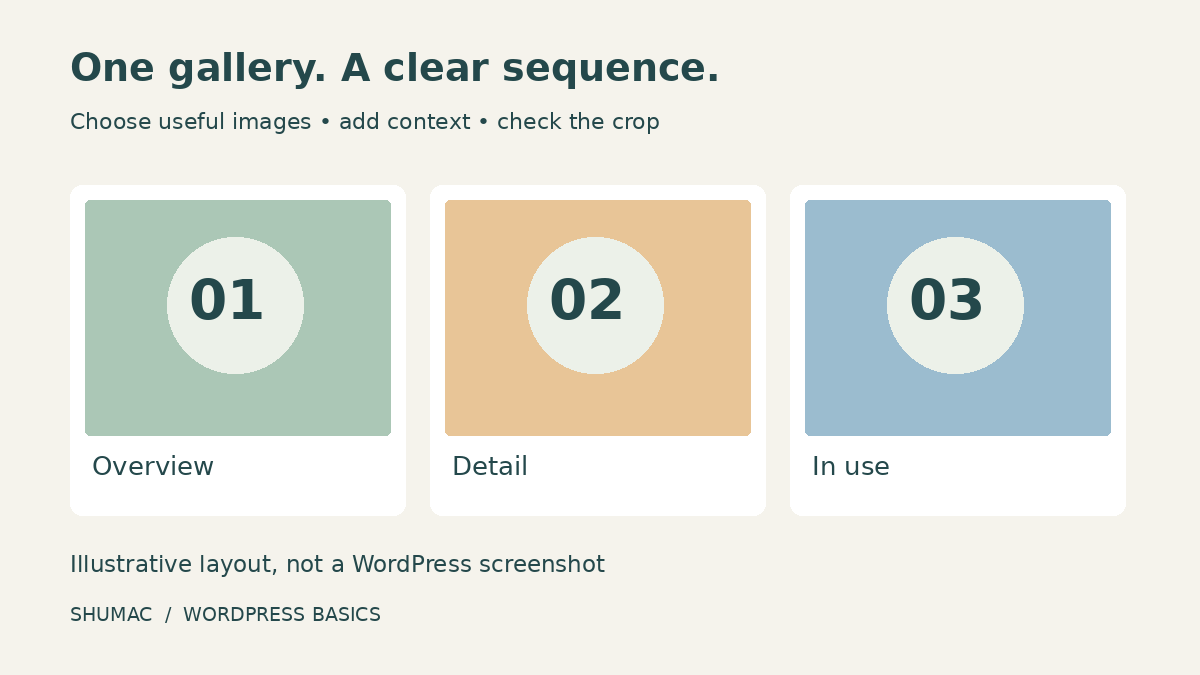
A few related photographs can explain a project better than a long stack of full-width images. WordPress has a built-in Gallery block, so you can arrange those photographs together without installing a gallery plugin. This guide uses the WordPress block editor, not Elementor.
Choose a small set with a purpose
For a handmade-product page, try three photographs: the whole object, a close-up of a useful detail, and the object in use. Each should answer a different question. Remove near-duplicates rather than filling every available space.
Use photographs you own or have permission to publish. Check backgrounds for addresses, customer details, or people who have not agreed to appear. Prepare sensible file sizes before uploading; our image resizing and compression guide covers that separate step.
Build the gallery
- Open your post or page. Use the + inserter and search for Gallery, or type /gallery in an empty block.
- Choose Upload for new files or Media Library for existing images, then select your set.
- Select the parent Gallery block to change its columns in the sidebar. Start with two columns for a small collection.
- Reorder images with the move controls. Add captions where readers need context.
- Try Crop images to fit only if you want consistent row sizes. Check that it does not hide important details.
If you see Use attached images, leave it alone for this manually selected gallery. That option creates a dynamic gallery that can include later attachments automatically. Labels and available controls can vary with your WordPress version and theme. See the official Gallery block documentation for the current controls.
Give each photograph useful context
A caption is visible to everyone; alternative text describes an image for people who cannot see it. For a mug close-up, a caption might say “The handle has room for two fingers.” Suitable alt text might be “Side view of a blue ceramic mug with a wide curved handle.” These are examples: describe what your photograph actually shows.
Select an individual image to review its alt text. A change in the block applies to that placement, while Media Library alt text supplies the default for future insertions. Do not repeat a keyword in every description. Read our WordPress alt-text guide and the official Image block reference for more detail.
Choose what happens when someone clicks
The Gallery toolbar offers link choices including None and Enlarge on click. The latter opens a lightbox for a closer look. Choose deliberately: a reader should not have to leave the article unexpectedly just to inspect a photograph.
Check the result before publishing
Preview both a wide screen and a narrow phone-sized view. Follow the gallery in reading order: does overview, detail, then in-use still make sense? Look for clipped handles, faces, labels, or other details that the surrounding text discusses. If a crop makes the image misleading, change the layout or choose a better-framed photograph.
Read every caption without zooming, check for sideways scrolling, and try the image-click behavior. If you enable enlargement, confirm that you can close it and return to the article. Finally, check that the pictures are sharp enough to explain the subject. Save your changes, and publish only when the gallery tells the intended story.