How to Add a Table in WordPress Without a Plugin
A small table can make a workshop schedule or a short comparison easier to scan than a paragraph. WordPress includes a Table block, so you do not need another plugin for a straightforward table in a post or page. This guide uses the native block editor. Elementor and other page builders have different controls.
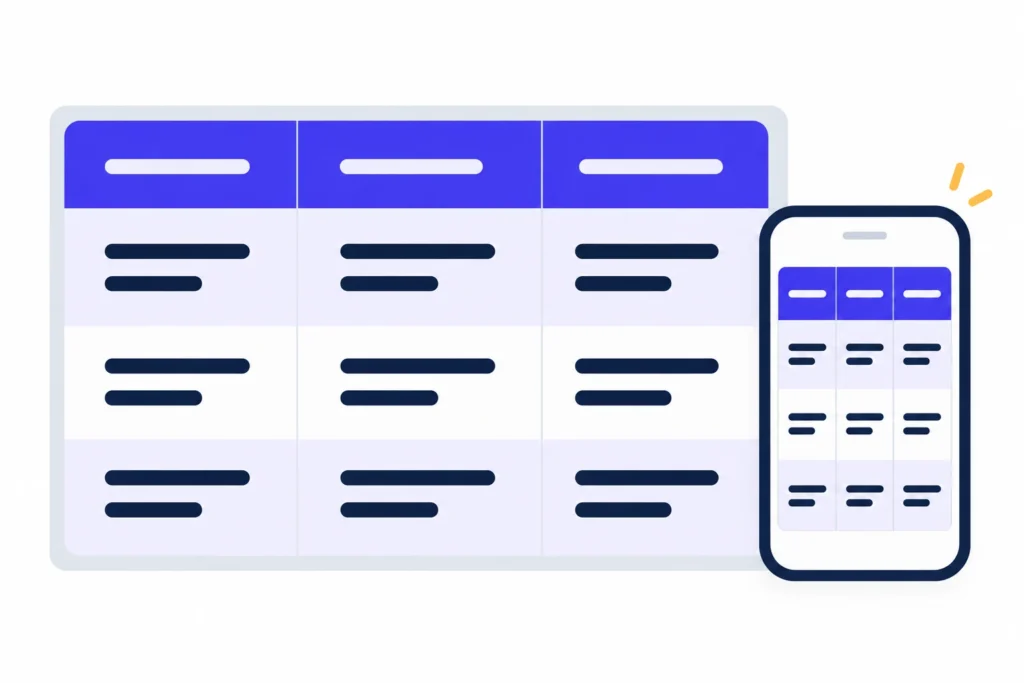
Choose a table only when it helps
Start with the question your reader needs to answer. “Which workshop happens on Wednesday?” is a good table question because the same facts repeat for each workshop. A short welcome message does not need a table. Use a list for independent tips, and ordinary paragraphs for explanations.
Keep the first version small. Choose only the columns that help a reader decide or act. In a timetable, a workshop name, day and duration may be enough. Put registration instructions below it instead of repeating a long sentence in every row. Use tables for data, not for positioning pictures and text across a page.
Add the Table block
- Open your post in the block editor. Click the plus button, search for Table, and select it. You can also type /table in an empty paragraph.
- Choose 3 columns and 3 rows for the practice example below, then create the table.
- With the table selected, open the Block settings sidebar. Enable Header section and enter the column labels in the new header row.
- Enter one item in each cell. Add a short caption to explain what the table shows.
- Use Edit table in the block toolbar if you need to insert or delete a row or column.
The official Table block guide shows these controls. Available styling and the final appearance depend on your theme.
Try this small example
The schedule below is fictional practice data, not an announcement of Shumac events. Copy the structure, then replace every entry with information you have checked.
| Workshop | Day | Duration |
|---|---|---|
| WordPress basics | Monday | 60 minutes |
| Writing your first post | Wednesday | 45 minutes |
| Adding images | Friday | 30 minutes |
Sample workshop schedule. All entries are fictional.
Read across each row before moving on. Does the day belong to the right workshop? Is the duration consistently written in minutes? If you later add start times, name the time zone clearly. Small ambiguities are easier to fix now than after someone makes plans around the information.
Make the labels useful
Use the real header section rather than making an ordinary first row bold. Header cells give assistive technology information about how the table is organised. W3C’s tables tutorial explains why these relationships matter. A screenshot of a table does not provide the same HTML structure.
Choose specific labels such as “Duration” rather than “Info.” Keep units consistent and explain unfamiliar abbreviations nearby. If a value is unavailable, write “Not confirmed” when that is accurate, rather than leaving a blank that readers might mistake for zero.
A visible caption helps explain the subject, but do not assume it alone makes a table accessible. Complex tables with several header levels need additional care. For a beginner page, splitting the information into two simple tables is usually easier to maintain than building one dense grid.
Check the narrow-screen version
The Fixed width table cells setting gives columns equal widths; it does not guarantee that every table fits a phone. Try the setting on and off, then inspect the preview. Use a narrow browser window or phone as well as the desktop view.
- Can you read every column without losing track of its label?
- Do long words, links or numbers get cut off?
- If horizontal scrolling is necessary, can you reach the final column?
- Does the text stay readable when you zoom in?
If the table feels crowded, remove an unnecessary column, shorten labels without losing their meaning, or separate different topics. Do not solve crowding by making the text tiny. W3C’s table tips recommend preserving understandable header relationships in different layouts and using smaller tables when possible.
Save, preview and check again
Save the draft and open its preview. Confirm the table’s data, headings and any links in the actual page layout, not just inside the editor. After publishing, repeat the check on the live page. For an existing post, keep a copy of important information before a major rewrite; our guide to restoring an earlier WordPress post version explains the revision workflow.
If you also include an explanatory image, give it an appropriate text alternative. See our guide to adding alt text in WordPress. Keep the essential table data as page text rather than hiding it inside the picture.
A simple table is finished when a reader can find the right value, understand its label and use it on a small screen. Add more features only when your content genuinely needs them.