How to Add Bulleted and Numbered Lists in WordPress
A list can turn a crowded paragraph into something a reader can use. On a workshop page, for example, the things to bring belong in bullets, while the booking process belongs in numbered steps. This guide shows how to create both without typing the markers yourself.
These instructions use the native WordPress block editor. No extra plugin is needed. If the page was built with Elementor or another page builder, keep using that editor rather than switching the existing content.
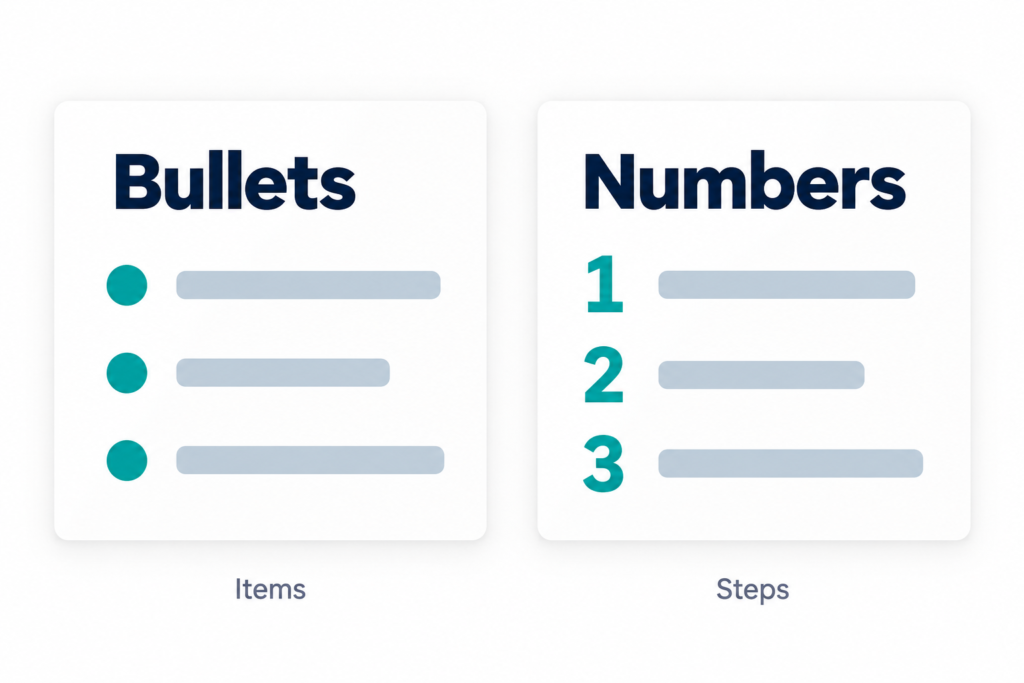
Choose bullets or numbers first
Use bullets when the order does not matter. Use numbers when readers should follow a sequence. That distinction also appears in the WordPress documentation style guide for lists.
For a fictional drawing workshop, “What to bring” could contain:
- A sketchbook
- A pencil and eraser
- A refillable water bottle
The same page might explain booking like this:
- Choose a workshop date.
- Complete the registration form.
- Read the confirmation for arrival instructions.
These are writing examples, not a real booking process. Replace them with instructions that match your own website. Keep each item focused on one thing, and start comparable items in a similar way.
Add a List block
- Open your post or page and place the cursor where the list should go.
- Use the plus-sign block inserter, search for List and select it. You can also type
/listin an empty paragraph. - Write the first item. Press Enter to add the next item.
- Select the parent List block and choose Unordered list for bullets or Ordered list for numbers in its toolbar.
- Finish the items, then press Enter on an empty final item to continue with a paragraph. Save the draft.
If you see only text-formatting controls, you may have selected a List Item, not the whole List. Use Document Overview → List View to select the parent List. The official List block guide describes the separate block and item toolbars; labels and placement can vary by version.
Use a sub-list only when it helps
Select an item and use Indent list item to put it beneath the preceding item. Use Outdent list item to move it back. For example, “Pencils” and “Eraser” could sit beneath “Drawing materials.” Keep nesting shallow so a phone screen still has room for the words.
Fix common list mistakes
- Two numbers appear on each line: remove the number you typed into the item. Let the ordered list supply the marker.
- An item sits too far to the right: check whether it belongs in a sub-list before changing spacing. Outdent an item that should be at the main level.
- A list is hard to scan: shorten long items or move the explanation into a paragraph nearby. Avoid making every item a miniature article.
- The numbers start unexpectedly: select the ordered List and review its start value and reverse-order setting.
Check the page before publishing
Preview the draft at desktop and phone widths. Check that markers are visible, wrapped lines are readable and no text disappears off the edge. Read numbered instructions in order: would someone know when one step is finished and the next begins?
A useful section heading gives the list context. See our guide to using H2 and H3 headings in WordPress if you need to organise the surrounding page. After publishing, open the actual page and check the list again, especially if the theme styles it differently from the editor.