Before updating WordPress, a theme, or a plugin, create a fresh backup that includes both your website files and its database. Then check that you can recover it. This gives you a usable starting point if an update changes your layout, breaks a feature, or prevents you from signing in.
This guide is for owners of self-hosted WordPress websites. Hosting dashboards and backup tools differ, so follow your provider’s instructions for the exact buttons. You can start with the backup service or plugin you already have. If you are still setting up your site, see our first WordPress website guide.
1. Know what a complete WordPress backup includes
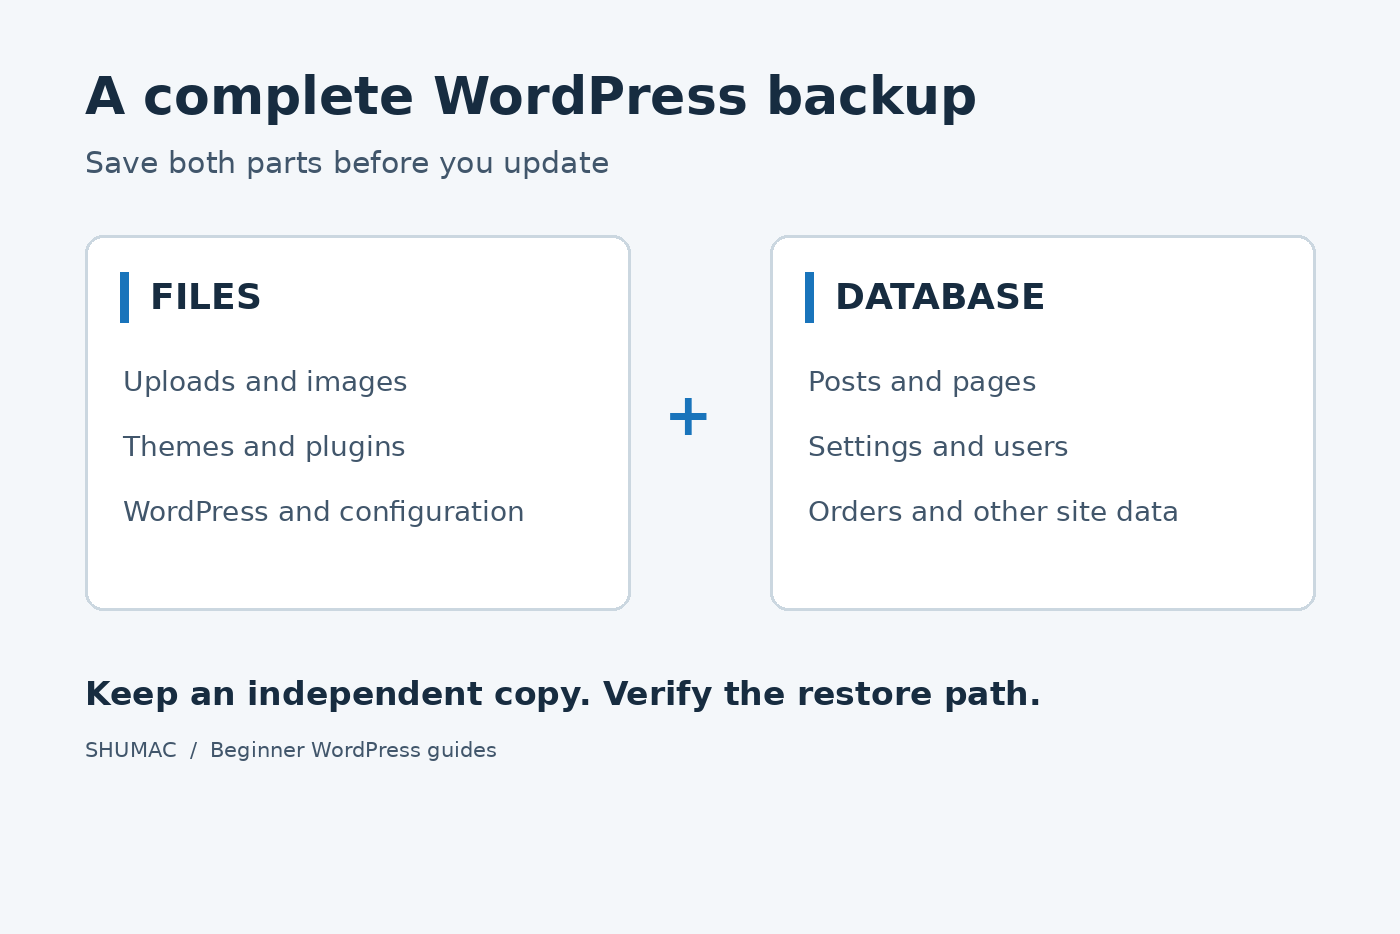
WordPress stores your website in two main parts:
- Files: themes, plugins, uploaded images and documents, WordPress software, and configuration files such as wp-config.php. Include custom files and relevant hidden files, such as .htaccess, where your server uses them.
- Database: posts, pages, settings, user information, and data saved by plugins. Some plugins create additional database tables, so confirm those are included.
Downloading your website’s folders usually does not include its database. Keep both parts from the same backup period together. The official WordPress backup guide explains why both are needed.
A common mistake: Tools → Export creates an XML content export. It is useful for moving content, but it does not replace a complete site backup. See what WordPress Export contains.
2. Choose an existing backup method
Your hosting provider: Start here if your plan includes backups. Look for a backup or recovery section in your hosting account. Ask whether backups include files and the database, how long copies are retained, whether you can download them, and whether restoration costs extra. Find out how to restore if WordPress itself becomes inaccessible.
An existing backup plugin: Open its backup settings and confirm its coverage. Check excluded folders, database tables, storage destination, and restore instructions. Some features may require a paid plan. Avoid assuming that a button labelled “backup” includes everything.
Neither approach is automatically better for every site. Choose the one whose coverage and recovery process you understand. Learn WordPress compares host and plugin backups. If neither is available, ask your host for help before updating; you do not need to install several plugins to solve the problem.
3. Create and check a fresh backup
- Choose a quiet period. Finish pending edits and ask other editors to pause changes during the backup.
- Select the correct website. Double-check the domain, especially if your hosting account contains several sites.
- Start an on-demand backup. Include files and the complete WordPress database. Check any exclusions before continuing.
- Wait for completion. Review the status and any warnings. A scheduled job or progress bar is not a finished backup.
- Record the details. Note the date, time, time zone, backup identifier, storage location, and update you intend to make.
- Check the output. Confirm every required download completed. Keep split archives together. A plausible file size is a useful check, but does not prove recovery will work.
For manual backups, use the official guides to backing up files and exporting the database. If you cannot identify the correct database, stop and ask your host.
4. Store a protected copy elsewhere
Keep a copy away from the web server, such as in private cloud storage or on an encrypted device. Keep several dated versions rather than repeatedly replacing your only copy.
Backups may contain personal information and configuration secrets. Restrict access, use encryption where supported, and never place an archive at a publicly accessible website address. WordPress’s security guidance covers backup protection. Also check whether separately hosted email or external services need their own backups.
5. Check recovery safely
The strongest practical check is restoring the backup into a separate test environment and inspecting the result. Ask your host to help if you have not done this before. Simply creating a staging copy does not test whether your saved backup restores.
Protect the test site from public access and search indexing. Confirm it uses a separate database. Before testing forms or checkout, disable real outbound emails and connected automations, and use payment sandbox modes. WooCommerce warns that test orders can trigger emails and integrations.
Check the homepage, recent posts, images, menus, sign-in, and important forms. Test updates there when possible. A successful staging test reduces uncertainty, but differences from the live server can still matter.
Be careful with busy sites: restoring an older database can remove newer orders, registrations, or saved submissions. Do not push a staging database over a live shop without a plan to preserve recent activity. WordPress.com’s staging guidance explains this overwrite risk.
A small example
Imagine a five-page business website preparing for a theme update. Its owner creates a files-and-database backup, labels it “before-theme-update” with a timestamp, and saves a protected off-server copy. After restoring it to staging, they check the homepage, mobile menu, images, and contact form using test details. They keep that recovery point until the live site passes the same checks after updating.
Your final pre-update checklist
- Files and database are included in a completed, recent backup.
- The backup can be accessed if WordPress stops working.
- A protected copy exists outside the web server.
- Restore instructions are available, and a safe restore test is completed where possible.
- Recent orders or submissions have a preservation plan.
After updating, check the live site’s important pages and functions. Keep the pre-update backup until you are satisfied everything works, and maintain a regular backup schedule that matches how often your site changes.